How to synchronize your email inbox?
Find our practical guide to synchronize your email inbox effectively.
Step 1: Access the My Profile Section
Once logged into the Centiva CRM application, you will be directed to the dashboard. In the left-hand menu, access your account settings by clicking on "Settings". In the submenu, click on "My Profile".
Step 2: Configuring the Email Inbox
- Select your email provider: In the "Email (two-way sync)" section, choose the type of email inbox you wish to synchronize (e.g., Gmail, Outlook, etc.) and then click on "Connect".

- Select the account: Choose the specific account you want to synchronize. You will be prompted to enter the credentials for this account.

- Specific instructions: Follow the specific instructions for the type of account you are adding.

-
Confirm authorization: Allow Centiva CRM access to synchronize incoming and outgoing emails between the CRM and your personal email account.

Step 3: Verification and Finalization
- Verification of synchronization:
- Once you have authorized access and configured the necessary settings, click "Continue" to finalize adding the email inbox.
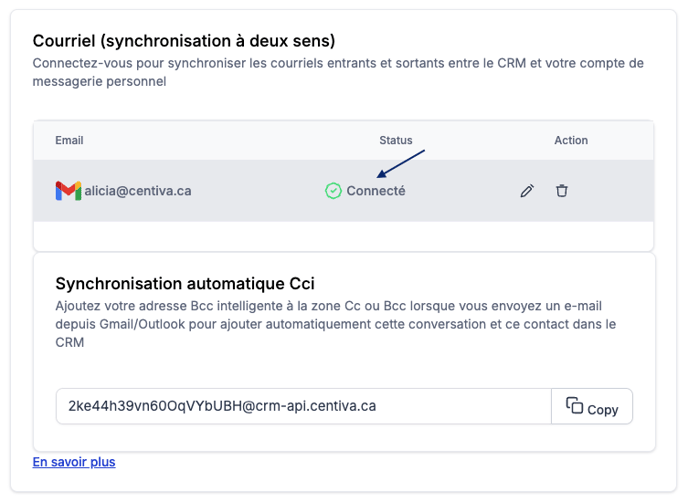
- Wait for Centiva CRM to complete synchronization and verify that the email inbox now appears in your interface.

-
-
You can send an email to a contact from Centiva CRM to initiate synchronization between both platforms.
-
By following these steps, you should be able to easily synchronize your email inbox to read, send, and manage your emails directly from Centiva CRM, and start benefiting from centralized management of client communications.